
Introduction
Welcome to the world of blogging! If you’re just starting, the idea of managing a blog can feel overwhelming. You want to upload blog posts, connect with an audience, and maybe even improve your SEO, but where do you begin? This guide is designed for beginners like you. We will walk you through the UploadBlog dashboard, a simple yet powerful tool that makes starting your blogging journey straightforward and enjoyable. Let’s get you started on the right foot.
- The UploadBlog dashboard is a beginner-friendly blogging platform designed for easy content management.
- You can easily upload blog posts, images, and videos with its intuitive interface.
- The dashboard offers essential tools for content creation, SEO optimization, and usability.
- Customization options allow you to personalize your blog’s layout and design.
- Analytics are built-in to help you track your blog’s performance and growth.
- Managing multiple blogs is streamlined, making it simple to switch between different projects.
Introduction to the UploadBlog Dashboard
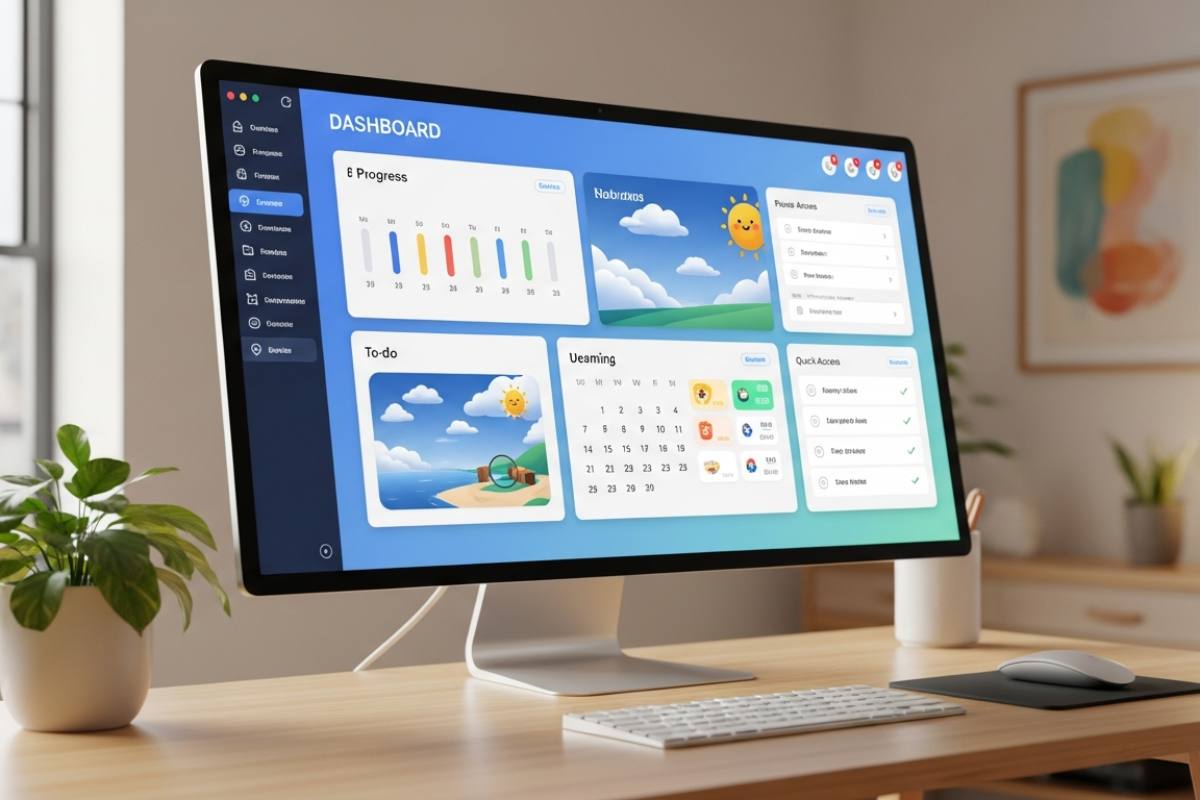
The UploadBlog dashboard is your central hub for all things related to your blog. Think of it as the control center where you can create, edit, and manage your content without any technical hassle. This blogging platform was built with simplicity in mind.
Its clean interface ensures you won’t get lost in complicated menus. From writing new posts to performance optimization, every tool is just a few clicks away, making your blogging experience smooth from the very beginning.
What is the UploadBlog Dashboard and Why Is It Useful for Beginners?
The UploadBlog dashboard is an all-in-one control panel designed specifically for creators who want to upload blog content without a steep learning curve. For beginners, its main advantage is simplicity. You don’t need any coding or technical knowledge to start publishing quality content. Everything from writing text to adding images is made easy.
This focus on a simplified user experience allows you to concentrate on what truly matters: creating engaging posts for your readers. The dashboard provides essential features like a straightforward post editor, media upload tools, and basic SEO settings. These tools help you build an online presence without feeling overwhelmed by complex options.
Ultimately, the dashboard is useful because it removes technical barriers. It empowers you to bring your ideas to life and share them with the world quickly. This makes it the perfect starting point for anyone new to the blogging scene.
Overview of the Main Interface and Navigation Options
Navigating the UploadBlog dashboard for the first time is a breeze, thanks to its clean layout and intuitive design. When you log in, you are greeted by a main screen that provides a quick overview of your blog’s activity. The interface is designed to be uncluttered, ensuring you can find what you need without searching through confusing menus.
The primary navigation functionality is typically located in a menu on the side or top of the screen. This menu gives you direct access to all the core sections of your dashboard. You can easily move between creating posts, managing media, and checking your stats.
Key navigation options you’ll find include:
- Posts: Where you create new articles or edit existing ones.
- Media: A library for all your uploaded images, videos, and files.
- Settings: The area to manage your profile, blog design, and other preferences.
Essential Features for New Users
When you’re new to blogging, having the right tools at your fingertips makes all the difference. The UploadBlog dashboard is packed with essential tools designed to help you get started without any stress. You can easily create a new post, add your content, and even optimize it for SEO.
These features are designed to be intuitive, so you can spend less time figuring out how the platform works and more time writing. From post scheduling to basic analytics, the dashboard provides everything you need to build and grow your blog effectively. Now, let’s explore some of these tools more closely.
Quick Access Tools and Widgets
The UploadBlog dashboard is designed for efficiency, offering quick access tools and widgets that streamline your workflow. These features are prominently displayed on your main dashboard, giving you an at-a-glance overview and one-click access to your most frequent tasks. This improves the overall user experience by saving you time and effort.
You’ll find various widgets that provide shortcuts to important functions. For instance, an analytics snapshot might show your latest visitor stats, while another widget could display your most recent posts. This setup is perfect for beginners who need straightforward information without digging through menus.
Some of the most useful quick access tools include:
- New Post Button: Lets you start writing a new article immediately.
- Analytics Overview: Shows key statistics like page views and visitor counts.
- Recent Activity: Displays comments and other recent engagement on your blog.
Customizing Your UploadBlog Dashboard Experience
Making your workspace your own can significantly improve your productivity and user experience. The UploadBlog dashboard offers customization options that allow you to tailor the interface to your preferences. You can often rearrange widgets, choose what information is displayed, and create a workflow that feels natural to you.
This level of personalization helps you focus on the aspects of content management that are most important to your goals. Whether you want to prioritize analytics or have quick access to your draft posts, the dashboard can be adjusted to fit your needs. This flexibility is a key feature that grows with you as your blogging skills develop.
While UploadBlog focuses on a streamlined experience without the complexity of many plugins, its built-in customization tools are powerful enough to create a personalized and efficient environment. This ensures you can manage your content your way, without unnecessary clutter.
Getting Started with the UploadBlog Dashboard
Ready to jump in? Getting started with the UploadBlog dashboard is a simple process. The first step is creating your account, which usually just requires an email address and a password. Once your account is set up, you’ll gain immediate access to the dashboard.
From there, you can begin exploring the different features and setting up your blog. The platform is designed to guide you through the initial steps, making your entry into the world of blogging as smooth as possible. Let’s look at what you’ll need before you log in for the first time.
What You Need Before Your First Login (Account, Internet Access, etc.)
Before you can dive into the UploadBlog dashboard and start creating, there are a few basic things you’ll need to have ready. Fortunately, the list is short and simple, as the blogging platform is designed to be highly accessible. You won’t need any advanced technical skills or special software.
Your primary requirement is a stable internet connection. Since UploadBlog is a web-based platform, all your work will be done online. You will also need a valid email address to create and verify your account. This email will be used for logging in and receiving important notifications.
Here’s a quick checklist of what you need:
- A working email address to create your account.
- A secure password you can remember.
- A reliable internet connection.
With these items in hand, you’re all set to sign up and access your dashboard for the first time.
How to Set Up Your Profile and Basic Settings
Once you’ve logged into your UploadBlog dashboard, one of the first things you’ll want to do is set up your profile and configure your basic settings. This helps personalize your account and ensures your blog reflects your identity or brand. You can typically find these options under a “Settings” or “Profile” tab in the main navigation menu.
In the profile section, you can add details about yourself, such as your name or a short bio. This information might be displayed on your blog, helping your readers connect with you. You can also upload a profile picture, which adds a personal touch to your posts and author bio.
Under basic settings, you can configure your blog’s title, tagline, and language. This is a crucial step in establishing your blog’s identity. Taking a few moments to fill out these details will lay a solid foundation for your content creation journey and make your blog feel more complete from the start.
Step-by-Step Guide to Using the UploadBlog Dashboard
To help you get comfortable with the platform, here is a simple step guide to using the UploadBlog dashboard. We’ll break down the most common tasks into easy-to-follow steps, from logging in to publishing your first post. The focus here is on usability, ensuring you can start blogging right away.
These tutorials are designed for beginners, so you won’t find any complicated jargon. By following these steps, you’ll quickly master the core functions of UploadBlog and feel confident managing your content.
Step 1: Logging In and Navigating the Dashboard
Your journey begins with logging in. To access your dashboard for the first time, go to the UploadBlog website and find the login page. Here, you’ll enter the email address and password you used to create your account. Once you submit your credentials, you’ll be taken directly to your main dashboard.
Upon logging in, take a moment to look around. You’ll see the main navigation menu, which is your key to accessing all the different parts of the platform. This menu is designed for maximum accessibility, with clearly labeled sections for posts, media, settings, and analytics.
Familiarize yourself with the layout. Click on different menu items to see where they lead. This initial exploration will help you build confidence and understand the flow of the dashboard. The intuitive navigation ensures you won’t feel lost, even as a first-time user.
Step 2: Creating and Publishing a New Blog Post
Now for the exciting part: creating your first blog post! To begin, locate and click the “New Post” button on your dashboard. This will open the content editor, which is the canvas where you’ll write and format your blog content. The editor is designed to be user-friendly, with familiar tools for text formatting.
Start by giving your post a catchy title. Then, begin writing your content in the main text area. You can use headings, bold text, and bullet points to structure your post and make it easy to read. Good formatting not only improves the reader’s experience but also helps with SEO.
Once you’re happy with your content, you can add tags and categories for better organization and optimization. Before publishing, use the “Preview” button to see how your post will look to visitors. If everything looks good, hit “Publish,” and your post will be live on your blog for the world to see!
Step 3: Uploading Images, Videos, and Other Media
Visuals play a big role in making your blog content engaging. The UploadBlog dashboard makes it simple to upload images, videos, and other media directly into your posts. Within the post editor, you’ll find an option to add media. Clicking this will open your media library or allow you to upload a new file from your computer.
Many platforms, including UploadBlog, support a simple drag-and-drop feature. This means you can just drag files from your desktop directly into the editor. This feature is incredibly convenient and helps improve your content quality by making it easy to add visually appealing elements.
Supported media formats typically include:
- Images: JPG, PNG, and GIF files.
- Videos: MP4 and AVI formats.
- Documents: PDFs and DOCX files for downloadable resources.
Adding alt text to your images is also a good practice for accessibility and SEO.
Step 4: Editing or Managing Published Posts
Your work doesn’t end after you hit “Publish.” You may need to edit or manage your published posts to update information, fix typos, or improve SEO. To do this, navigate to the “Posts” section of your dashboard. Here, you’ll see a list of all your articles, both published and in draft form.
To edit a post, simply find it in the list and click the “Edit” button. This will take you back to the content editor, where you can make any necessary changes. You can update text, add new images, or change the post’s title. Maintaining consistency across your content is important, and this feature makes it easy.
Once you’ve made your changes, click the “Update” button to save them. The updated version of your post will immediately be live on your blog. This simple process allows you to keep your content fresh and accurate over time, ensuring your blog remains a valuable resource for your readers.
Step 5: Accessing Analytics and Blog Statistics
Understanding how your blog is performing is crucial for growth. The UploadBlog dashboard includes a dedicated section for analytics and blog statistics. This area provides valuable insights into your audience and content performance, helping you make informed decisions for optimization. You can see which posts are popular, where your traffic is coming from, and how readers are engaging with your content.
These statistics are presented in an easy-to-understand format, perfect for beginners. By monitoring your analytics, you can identify trends and adjust your content strategy to better meet your audience’s needs. This data can also help you improve your position in search results over time.
Here’s a look at some common metrics you might find:
| Metric | What It Tells You |
|---|---|
| Page Views | The total number of times your pages were viewed. |
| Unique Visitors | The number of individual people who visited your blog. |
| Top Posts | Your most popular articles based on views. |
| Traffic Sources | Where your visitors are coming from (e.g., Google, social media). |
Customizing Your Blog Layout and Design
A blog’s design is its first impression, and making it look great is key to attracting and retaining readers. UploadBlog provides flexible design options that allow you to customize your blog’s layout without needing to be a design expert. You can choose from a variety of templates and personalize them to match your style.
This level of customization helps you create a unique online space that reflects your brand or personality. Whether you want a minimalist look or something more vibrant, the tools are there for you. Let’s explore how you can use templates and other design features to make your blog stand out.
Choosing and Applying Templates
One of the quickest ways to give your blog a professional look is by using templates. The UploadBlog dashboard offers a selection of pre-designed templates that you can apply to your blog with just a few clicks. These templates control the overall layout and structure of your site, from the header to the footer.
To choose a template, navigate to the design or appearance section of your dashboard. Here, you can browse through the available options and preview how each one would look on your blog. This allows you to experiment with different styles until you find one that fits your niche and content.
Once you’ve found a template you like, applying it is as simple as clicking a button. Your blog’s entire look will be updated instantly. These templates are a fantastic feature for beginners, providing a polished design without the hassle of coding, and are a core part of the blogging experience on UploadBlog.
Personalizing Colors, Fonts, and Widgets
Beyond choosing a template, you can further personalize your blog’s appearance by customizing its colors, fonts, and widgets. The UploadBlog dashboard provides intuitive controls for these elements, giving you the freedom to create a truly unique design. You can select a color scheme that matches your brand’s logos or choose fonts that enhance readability.
The customization options are typically found in the design or appearance section of your dashboard. Here, you can experiment with different combinations until you achieve the perfect look. Adjusting these details helps establish a strong visual identity for your blog, making it more memorable for your visitors.
You can also add and arrange widgets in areas like your sidebar or footer. Widgets can display recent posts, a search bar, social media links, and more. This level of customization allows you to tailor the user experience and highlight the content you want your readers to see, making your blogging efforts more effective.
Managing Multiple Blogs and Advanced Options
As you become more experienced, you might want to manage multiple blogs or explore more advanced options. The UploadBlog dashboard is equipped to handle these needs, allowing you to grow without having to switch platforms. You can easily oversee several blogs from a single account.
This capability streamlines your content management process, providing a seamless user experience even as your online presence expands. Let’s look at how you can switch between blogs and set permissions for other users.
How to Switch Between Different Blogs
If you run more than one blog, you’ll appreciate how easy it is to switch between them on the UploadBlog dashboard. The platform is designed with accessibility and a positive user experience in mind, ensuring that managing multiple projects is a hassle-free process. There’s no need to log in and out of different accounts.
Typically, you’ll find a dropdown menu or a dedicated section on your dashboard that lists all the blogs associated with your account. By simply clicking on the name of the blog you want to work on, you can instantly switch to its respective dashboard. This feature is a huge time-saver for prolific creators.
This streamlined approach to blogging allows you to maintain momentum across all your projects. Whether you’re a small business owner with separate blogs for different brands or a writer exploring various niches, this functionality makes your workflow much more efficient.
Setting Permissions and User Roles
As your blog grows, you might want to collaborate with other writers or editors. The UploadBlog dashboard allows you to set permissions and assign user roles, giving you control over who can do what on your blog. This feature is essential for team-based content creation and enhances the platform’s accessibility.
From the dashboard, you can invite new users to your blog and assign them a specific role, such as “Author” or “Editor.” An Author might only be able to write and submit posts for review, while an Editor could have the ability to publish and edit any content on the site.
This system of user roles is a powerful feature for managing a growing team. It ensures that you can delegate tasks without compromising the security or integrity of your blog. This makes the blogging platform a scalable solution, suitable for individual beginners and expanding teams alike.
Conclusion
In conclusion, the UploadBlog Dashboard is a powerful tool tailored for beginners to streamline their blogging experience. By familiarizing yourself with its intuitive interface and essential features, you can easily navigate through creating and managing your content. Emphasizing customization options allows you to truly make your blog your own, enhancing both functionality and aesthetic appeal. As you grow more comfortable with the dashboard, you’ll discover a wealth of opportunities to harness its capabilities for better engagement and analytics. So, take that first step, log in, and start crafting your unique blogging journey today! If you have any questions, feel free to explore our FAQ section or reach out for assistance.
Frequently Asked Questions
How do I access the UploadBlog dashboard for the first time?
To access the UploadBlog dashboard for the first time, you need to sign up on the website using a valid email address. Once your account is created, you can log in with your credentials. The platform’s high accessibility makes this process straightforward, even for beginners.
Can I upload images or videos directly from my phone?
Yes, you can upload images and other media directly from your phone. The UploadBlog dashboard is typically mobile-responsive, allowing you to manage your blogging on the go. This makes it convenient to add photos or videos to your posts anytime, anywhere.
Where do I find analytics for my blog’s performance?
You can find your blog statistics in the “Analytics” section of the UploadBlog dashboard. This area provides key data on your performance, which is useful for optimization and improving your visibility on search engines. The information is presented in a clear, easy-to-understand format.
Is it possible to revert changes made to a published post?
Some blogging platform dashboards offer a revision history feature that allows you to revert to previous versions of your blog content. This content management tool is helpful for undoing unwanted edits. Check the post editor settings to see if this option is available on UploadBlog.